Been a very long time since I posted on this blog. I've been busy with my Advanced Squad Leader Blog. But recently, I was laid off and thought...you know...maybe I'll set up the Geo Hex and just throw some dice. My Kepi & Musket Rules Set was used for this game. I created this basic set of rules with my friend Bill Martin in the summer of 1979. We wrote what I think is the still the best quick play set of rules for 18th and 19th Century line battles.
Of course these are really basic rules and will not be to everyone's taste. If you need a lot of chrome..these rules will you hungry. At their core, these rules simply let you set up your figures, roll dice for volleys, cannon fire, and melee with infantry and/or cavalry. There are some subtle tactical considerations, but nothing like a full fledged set of wargame rules.
Rules like these exist for those among us who simply want a quick paced, fast play game that allows us to set up our figures and knock them down in a few hours of focused play. Rules like these are also handy for introducing young players to wargaming without the intimidation of complex rules that leave a player disengaged and disheartened. Easy to understand rules that both sides can easily comprehend and use ensure that the Rules themselves do not become an additional weapon in your opponent's arsenal. After 43 years of playing Advanced Squad Leader...I still am victimized by opponents who pick out an opportune rule to inflict harm upon me. So there'll be none of that here.
Now in my set'em up and knock'em down world, I don't base figures. This can be daunting and frankly discomforting for many players. There is a tediousness to constantly moving and setting up hundreds of individual figures. Some of us enjoy that aspect of miniature gaming...and a great many do not. But in my demonstration game that follows, I would play it solo and move all the figures in this game by hand for the duration of the battle, which would last about 8 hours.
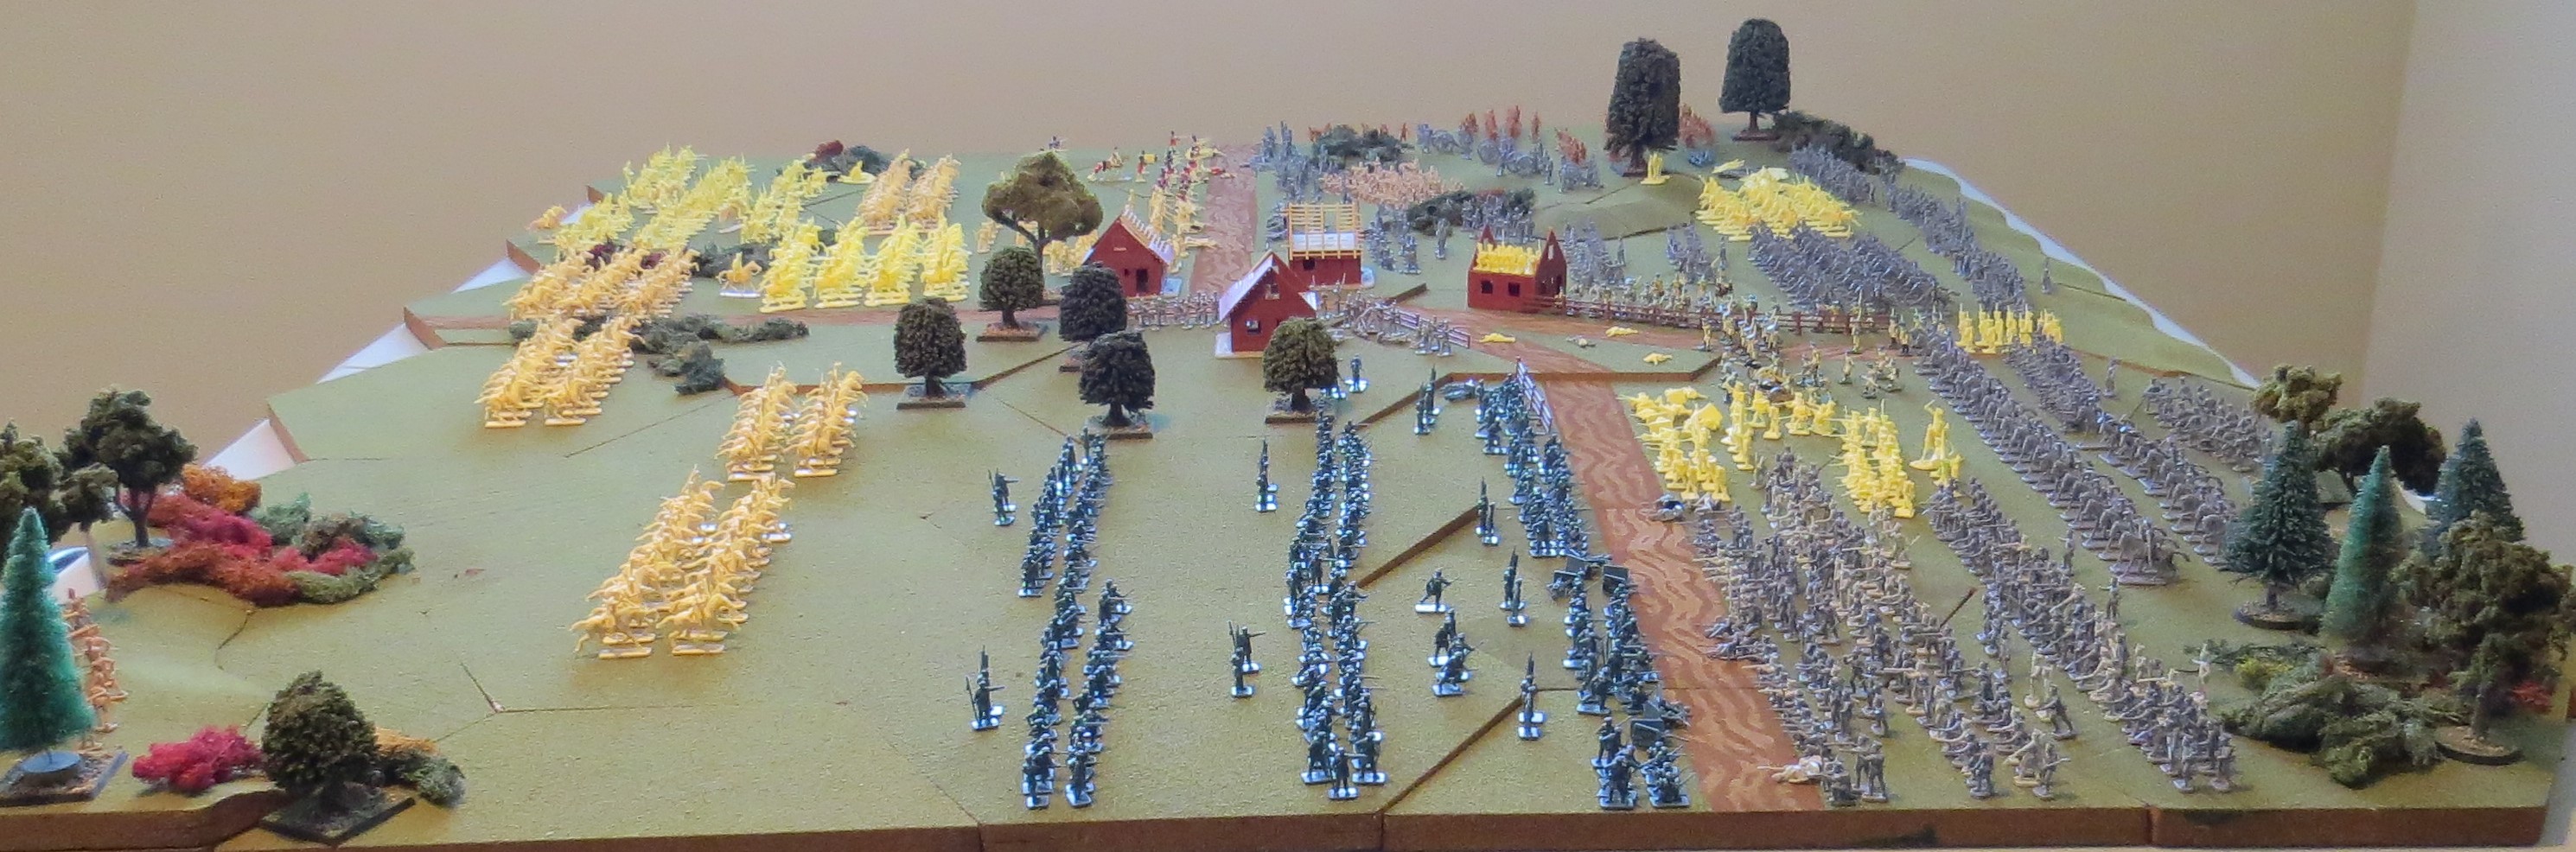
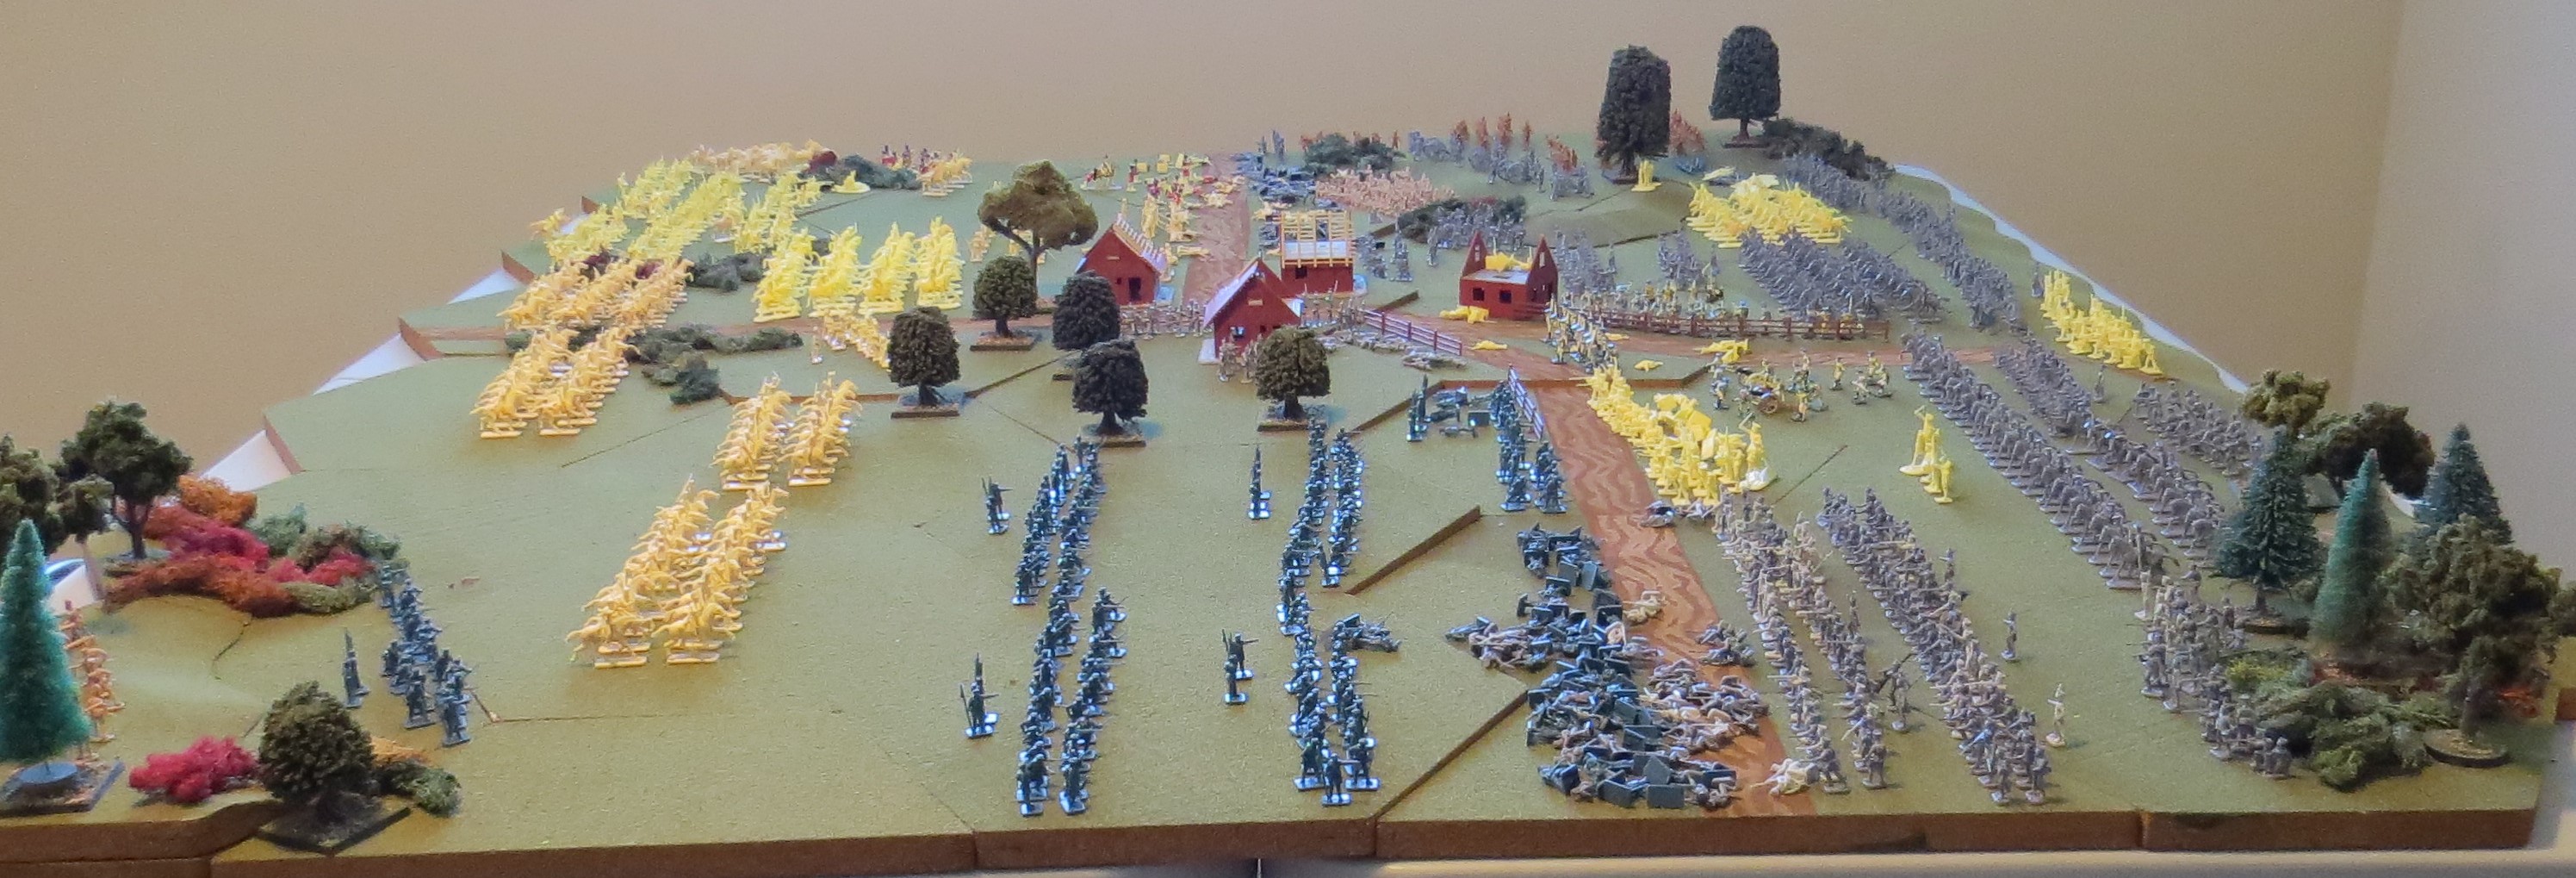
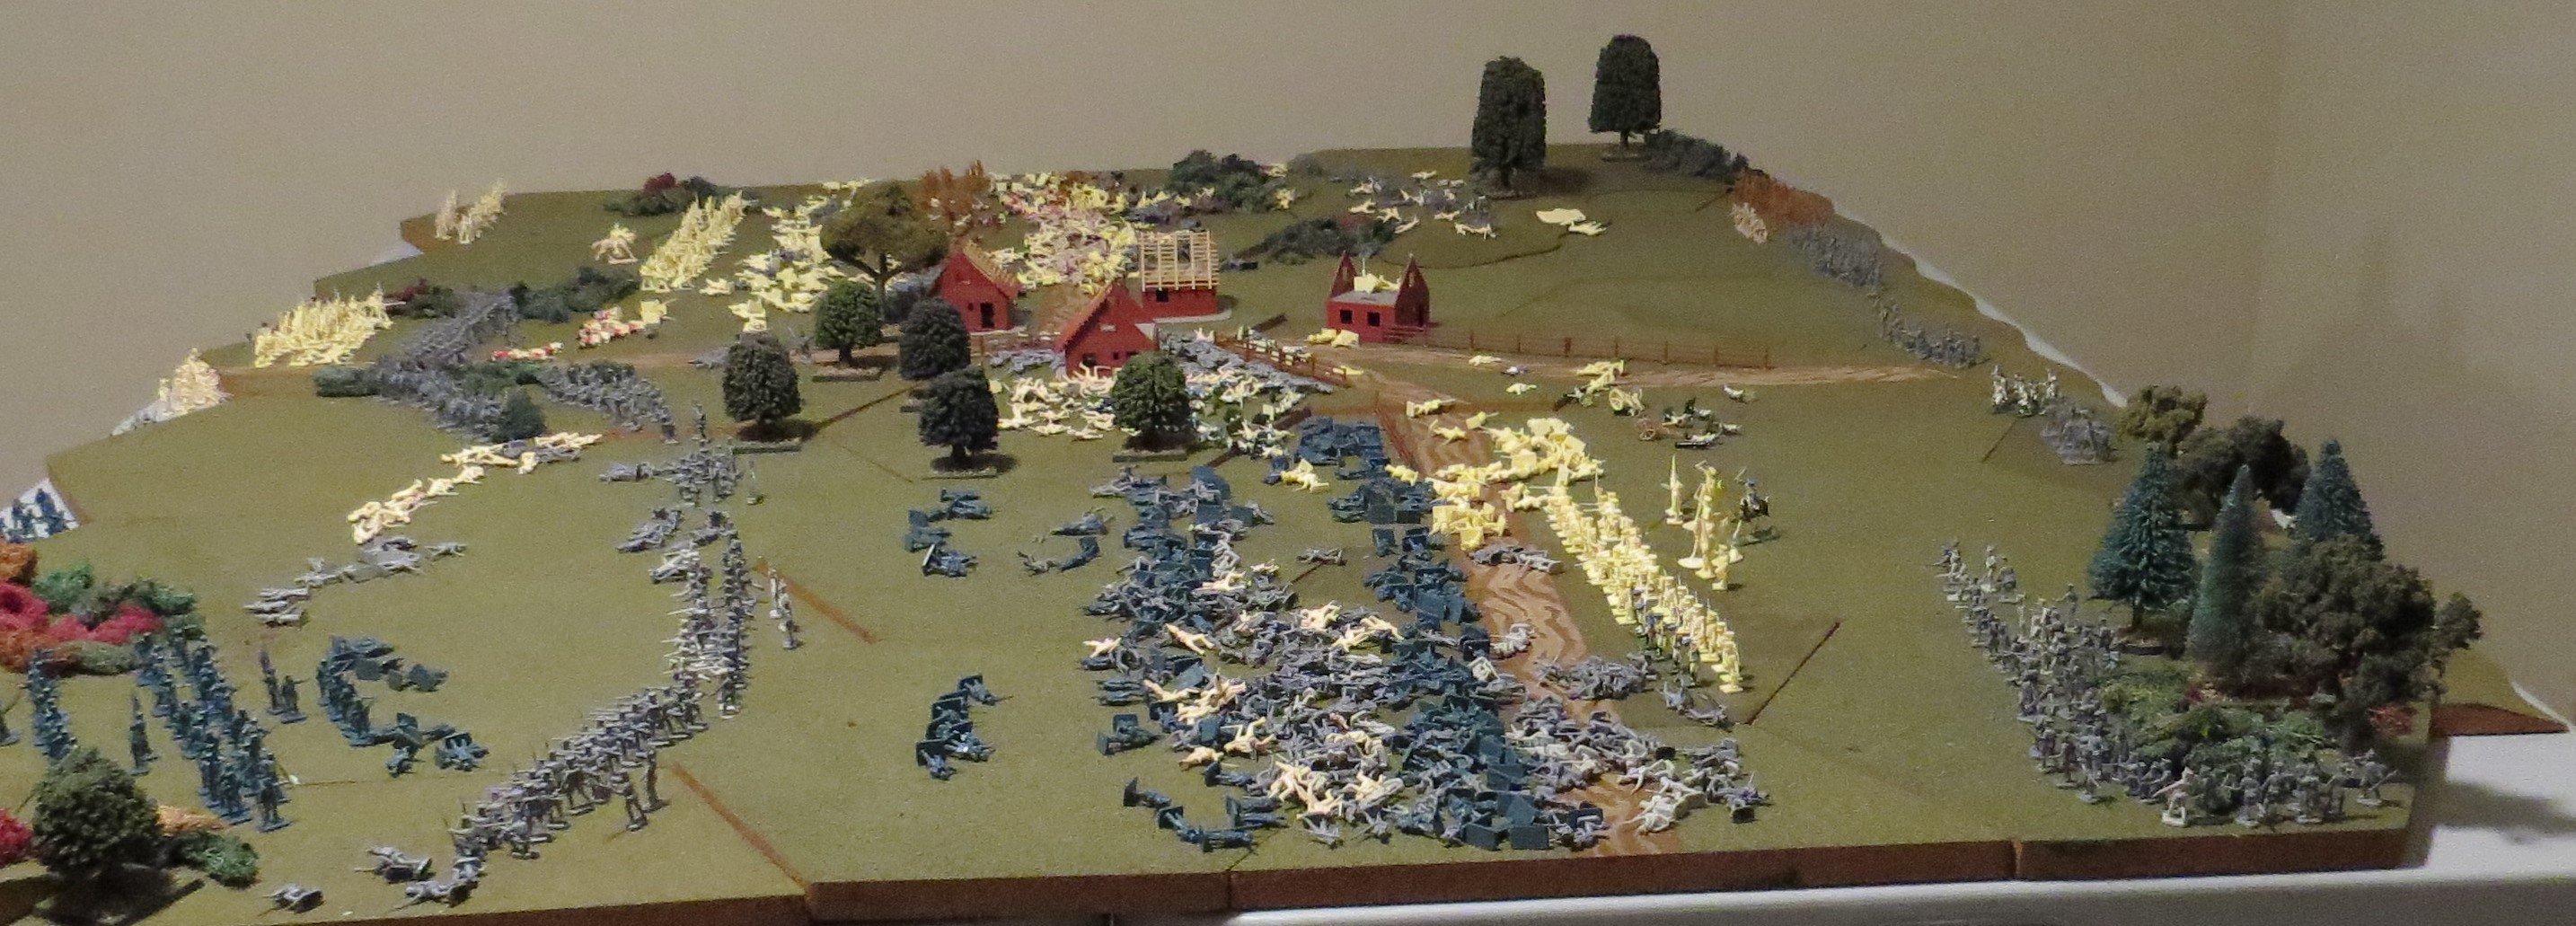
The battle depicted is a simple elimination game. The British and Prussians attempt to stop the French, Russian, and Austrians from forcing them off the board.

Set up time for this monstrosity was around 3 -1/2 hours over two evenings. The Geo-Hex was purchased in 1988 and is in remarkably good condition after three decades. One of my two tables was not level and resulted in the tectonic plates shifts that you see. The figures are a mixture of Revell, Airfix and ESCI. My favorite figure set are the Airfix Prussians. I believe these are among the best figures ever produced by Airfix. Good molds, good plastic, good poses...just all around some of their best work. The Airfix French and British Line Infantry are also quite good. The ESCI figures are fantastic and really do put the Airfix figures to shame. The only Revell force on the map are about 50 men of the British 95th Rifles. They are beautiful miniatures.
The Airfix French and British cavalry are good figures but a true nightmare to get their horses properly fixed into their bases. Just awful. The ESCI are once again fantastic. Not a lot of artillery on the field, but 4 cannon to the British effort and 6 to the French effort.
The total number of figures involved in this fracas was 1608.
The first volleys are fired by the opposing lines. A 6 sided die is rolled for every six figures. Any unit with less than 6 figures is forced to retreat.


The Prussians were dealt some early blows and would volley poorly throughout the fight.

British artillery would inflict losses on the French (yellow at center) forces.

The Russians would be the standout formation in this game. They would punish the Prussians throughout the game and still be in the fight till the very last fight for the British artillery on the hill (front left corner).


The Prussians would eliminate all but 4 of the Polish Lancers, but their line was completely shattered.

The Polish Lancers had carved a path forward for the surging Russian Infantry.


The lighting has changed as night falls outside. The Prussians continue to get hammered as the French advance all across the board. The 95th Rifles are holding the center buildings, but are quickly overwhelmed by the French line infantry and French Cavalry.

In this rules set, wounded troops are set to assembly areas at the rear. Once the parent unit is completely eliminated or pulled back to the assembly area, then these troops can once again rejoin the battle. The Prussians established a new line in front of their guns. The British artillery successfully eliminated a 2 gun French Battery, while British cavalry in the background successfully eliminated the four Russian cannons. At this stage of the game, only the British had functioning artillery. But...the Russian artillerists took down a huge number of British cavalry. Their loss would impact the battle going forward.

The Russians advance, but the clutter of casualties makes it difficult.

The Russians and French approach the last line made up of British line, the 95h Rifles and the Prussians.

The French volleys are very effective and eliminate the British Line Infantry as well as the 95th Rifles. The 95th Rifles had four survivors and were roughly handled throughout this battle.


In the background, the French are moving forward against three ranks off British Line Infantry.

The Russians and French Line Infantry realign for the next series of volleys against the Prussian final position.

The British artillery does some serious damage...but the Prussians continue to dice battling and get very few volley hits.


The final assaults begin.

The battle is over. The final fight is for the British guns and the Russians are finally out of the fight...which leaves the final thrust to be completed by the French Line Infantry. They storm the hill and take out the guns. The French and their Allies have won the day.

The carnage around the British guns. Melees are always devastating to both sides, but they are the best means of carrying a position quickly.

The French victory was never in doubt as evidenced by the remaining lines of French Infantry still advancing forward.

These French Line Infantry had been fighting in the center and suffered early losses and the entire unit was retreated to the assembly area and then successfully redeployed into the battle. These men would provide the final reserves for the French had they been needed. Back in 1978, I painted some of the Airfix figures. It's amazing to see the paint still surviving after so many years.

A good look at the ESCI (grey) and Airfix (yellow) French Line Infantry. The dead of the 95th Rifles are in front of the ESCI French Line.


The carnage of the fight for control of the center road was by far the worst on the table.


The few French Line Infantry remaining from the fight to overwhelm the British artillery.

A final look at the battlefield. I had not set up many of these figures since the mid 1990's. It was nice to relive some of the old memories of when table top gaming was my entire world.
Thanks for reading and here's wishing you success in your own table top endeavors!